How to import app store screenshots and add them to a device mockup
Updated
Capture a clean screenshot from the iOS Simulator or Android emulator, then drag that file straight onto a device on the stage in StoreScreenshot. The studio accepts the native simulator and emulator resolutions and fits your screenshot to the device screen. Here is the full workflow, from capturing the source to placing it on the device and exporting at the store size.
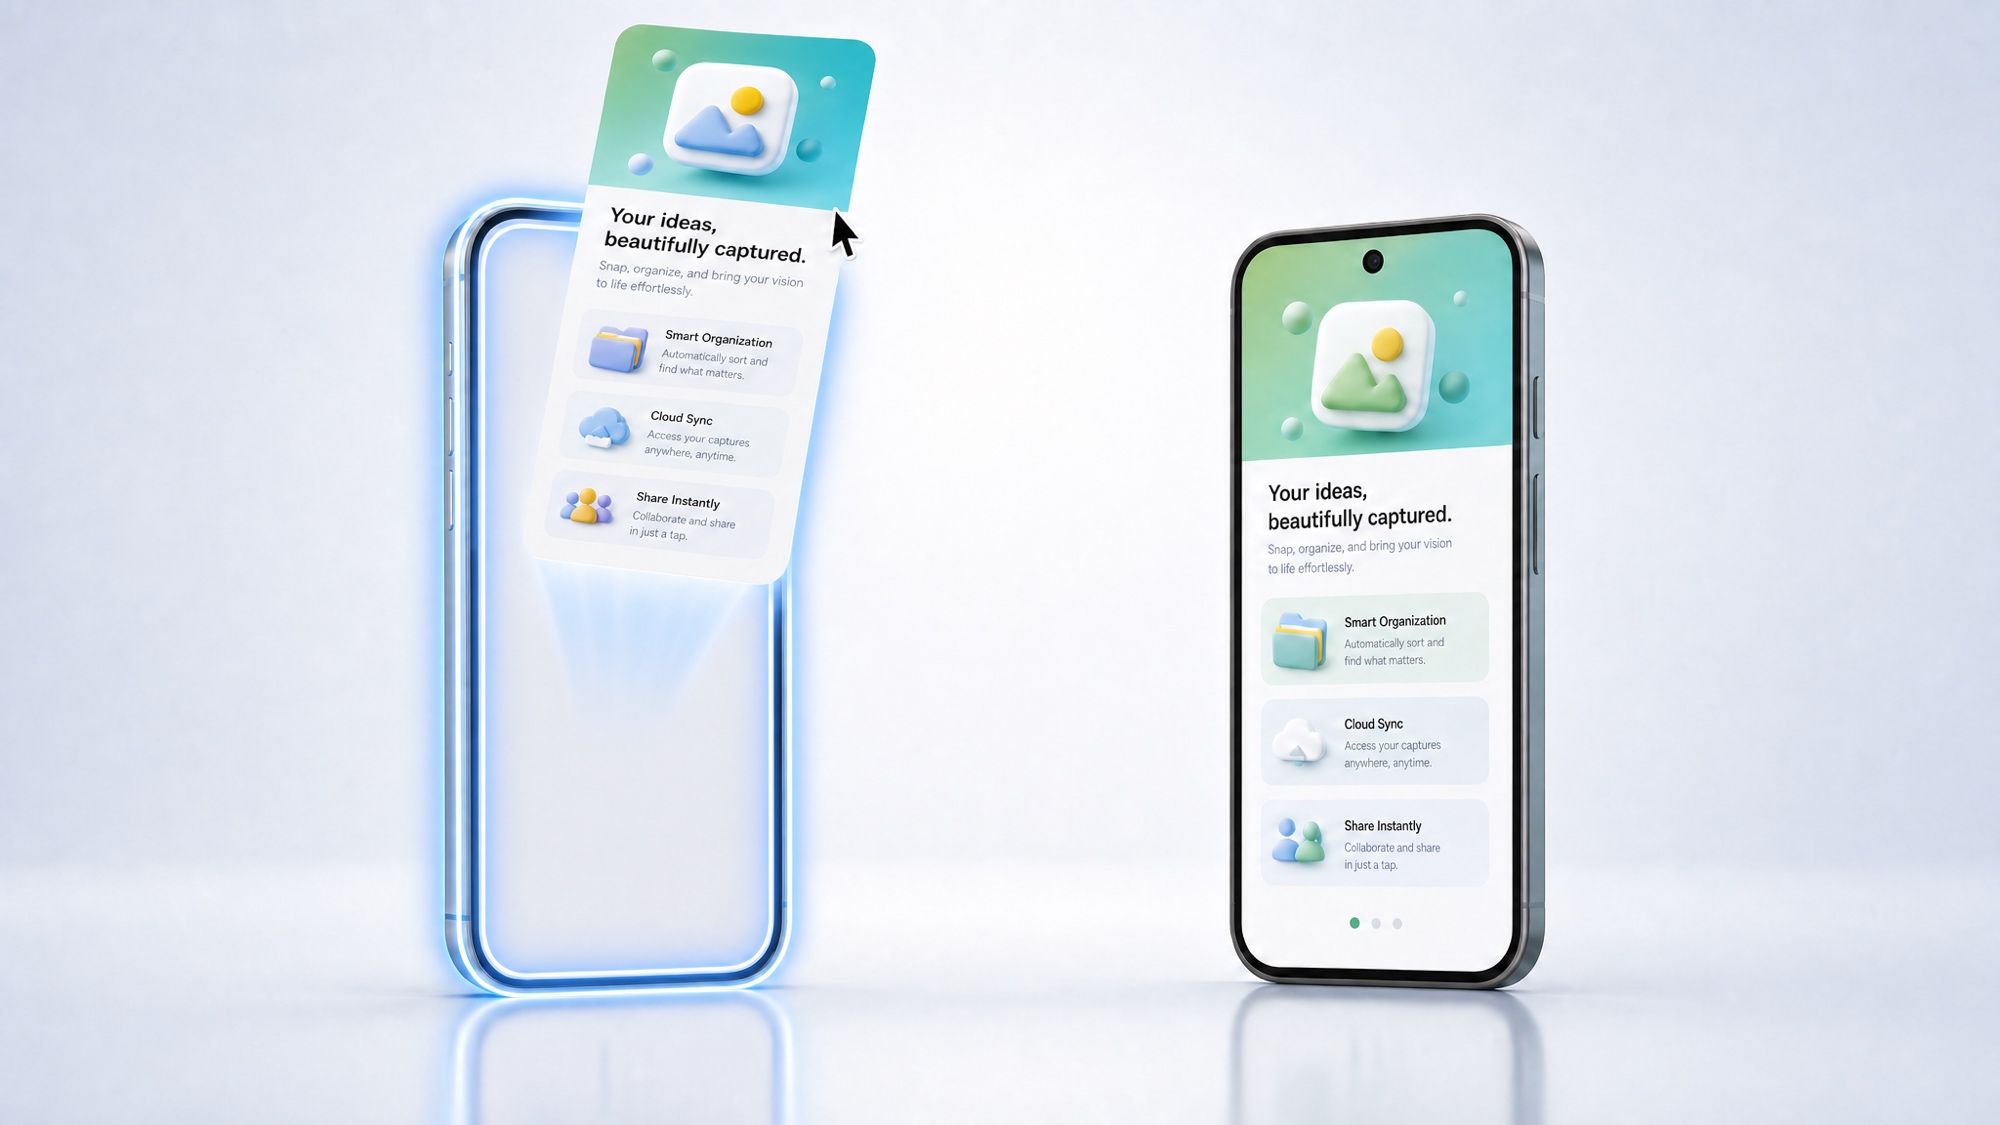
#Import your screenshot and drop it onto a device
This is the fast path. After you capture from the simulator or emulator, add an iPhone or Android mockup to a frame and drag your screenshot straight onto the device on the stage. It maps to the angled screen in perspective. The studio accepts the native simulator and emulator resolutions listed below, so capture from the simulator and your file drops straight in.
Add a screenshot to a device
- 1
Add a device mockup to your frame. Open the iPhone or Android mockups in the sidebar and drop one onto a frame. Each is a real phone shown at an angle.
- 2
Drag your screenshot onto the device. Drag the PNG from your computer straight onto the device on the stage. The screen highlights and your screenshot maps onto it in perspective with the aspect ratio preserved.
- 3
Swap the device anytime. Switch between iPhone and Android frames or pick a different model. Your screenshot refits to the new screen, so you can preview the same shot across phones.
Resolutions the mockups accept
| Resolution | Frame | Aspect ratio | Best for |
|---|---|---|---|
| 1320 x 2868 | iPhone | 19.5:9 | App Store 6.9 inch (required) |
| 1290 x 2796 | iPhone | 19.5:9 | 6.7 inch, fills the 6.9 slot too |
| 1284 x 2778 | iPhone | 19.5:9 | 6.5 inch |
| 1206 x 2622 | iPhone | 19.5:9 | 6.3 inch |
| 1179 x 2556 | iPhone | 19.5:9 | 6.1 inch |
| 1344 x 2992 | Android | 20:9 | Pixel 10 Pro XL, 9 Pro XL, 8 Pro |
| 1280 x 2856 | Android | 20:9 | Pixel 10 Pro, 9 Pro |
| 1080 x 2424 | Android | 20.2:9 | Pixel 10, Pixel 9 |
| 1080 x 2400 | Android | 20:9 | Pixel 8, Pixel 7 |
#Capture from the iOS Simulator
Need a clean screenshot to import? The simulator captures at the iPhone native pixel resolution, so the file you save is already the right size for its App Store class. Capture from the largest iPhone you target and you cover every smaller one.
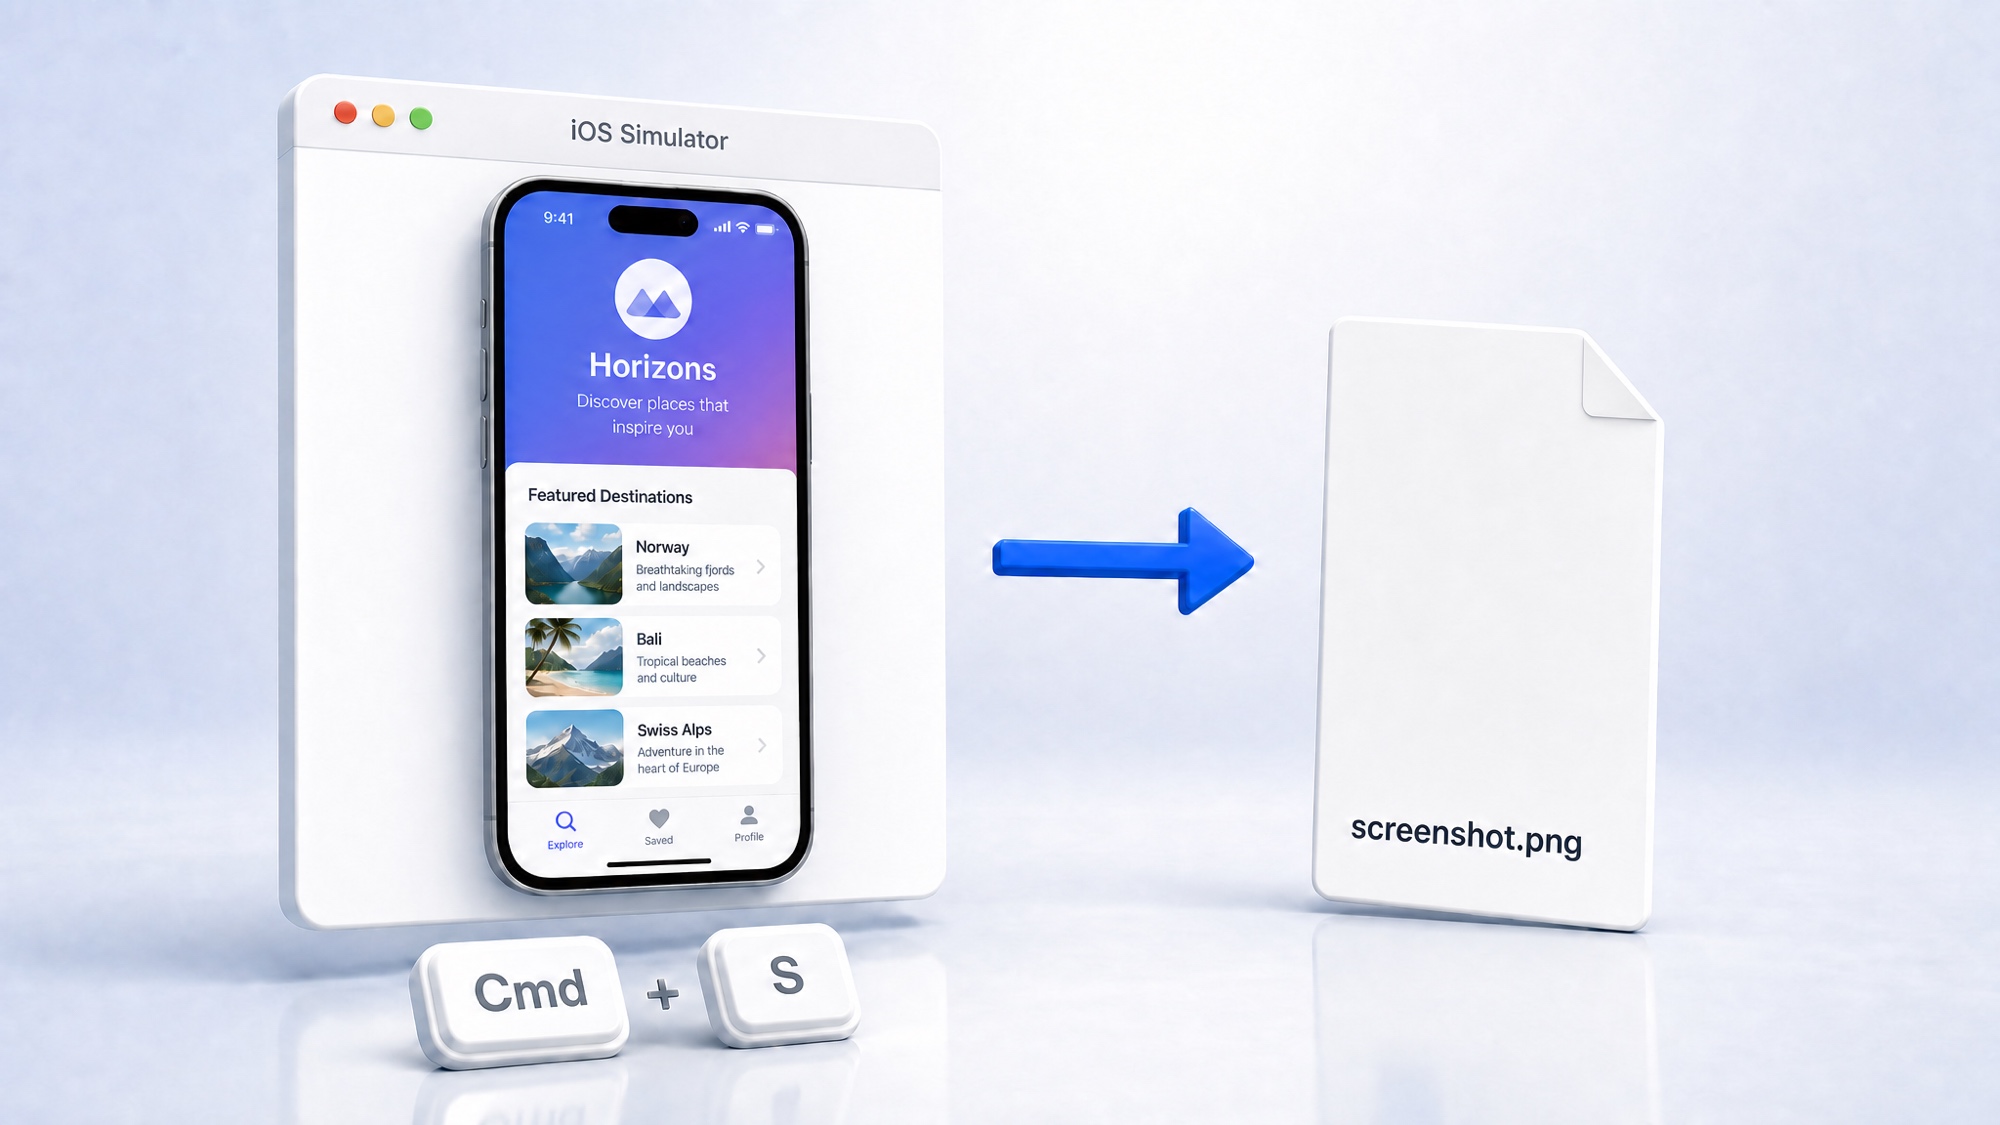
Capture a screenshot
- 1
Run on the largest iPhone you target. In Xcode, launch your app on a simulator like iPhone 16 Pro Max. The simulator always renders at that device native pixel resolution, so the screenshot matches its App Store class.
- 2
Save with the menu or Cmd+S. With the simulator focused, choose File > Save Screenshot or press Cmd+S. The PNG lands on your Desktop at the full native resolution.
- 3
Or capture from the terminal. This writes a native-resolution PNG regardless of how the simulator window is zoomed, which is the most reliable method.
xcrun simctl io booted screenshot screenshot.png - 4
Clean the status bar first (optional). Override the clock to 9:41 and a full, charged battery so the status bar looks intentional before you capture.
xcrun simctl status_bar booted override --time 9:41 --batteryState charged --batteryLevel 100
Resolution per iPhone simulator
Capture a large iPhone to cover the App Store. The 6.9-inch slot is the only required iPhone class, and App Store Connect scales it down to every smaller iPhone automatically. The slot accepts both 1290 x 2796 (the 6.7-inch iPhones) and 1320 x 2868 (the 6.9-inch Pro Max), so either one works.
| Simulator device | Screenshot output (portrait) | App Store class |
|---|---|---|
| iPhone 16 Pro Max, 17 Pro Max | 1320 x 2868 | 6.9 inch (required) |
| iPhone 16 Plus, 15 Pro Max, 15 Plus | 1290 x 2796 | 6.7 inch (fits the 6.9 slot) |
| iPhone 11 Pro Max, 13 Pro Max, 12 Pro Max | 1284 x 2778 | 6.5 inch (only if you skip 6.9) |
| iPhone 17, 17 Pro, 16 Pro | 1206 x 2622 | 6.3 inch (optional) |
| iPhone 16, 15 Pro, 15, 14 Pro | 1179 x 2556 | 6.1 inch (optional) |
#Capture from the Android emulator
The emulator records at whatever resolution the virtual phone is configured for. Google Play accepts a wide range instead of fixed dimensions, so any modern Pixel phone AVD produces a screenshot you can import.
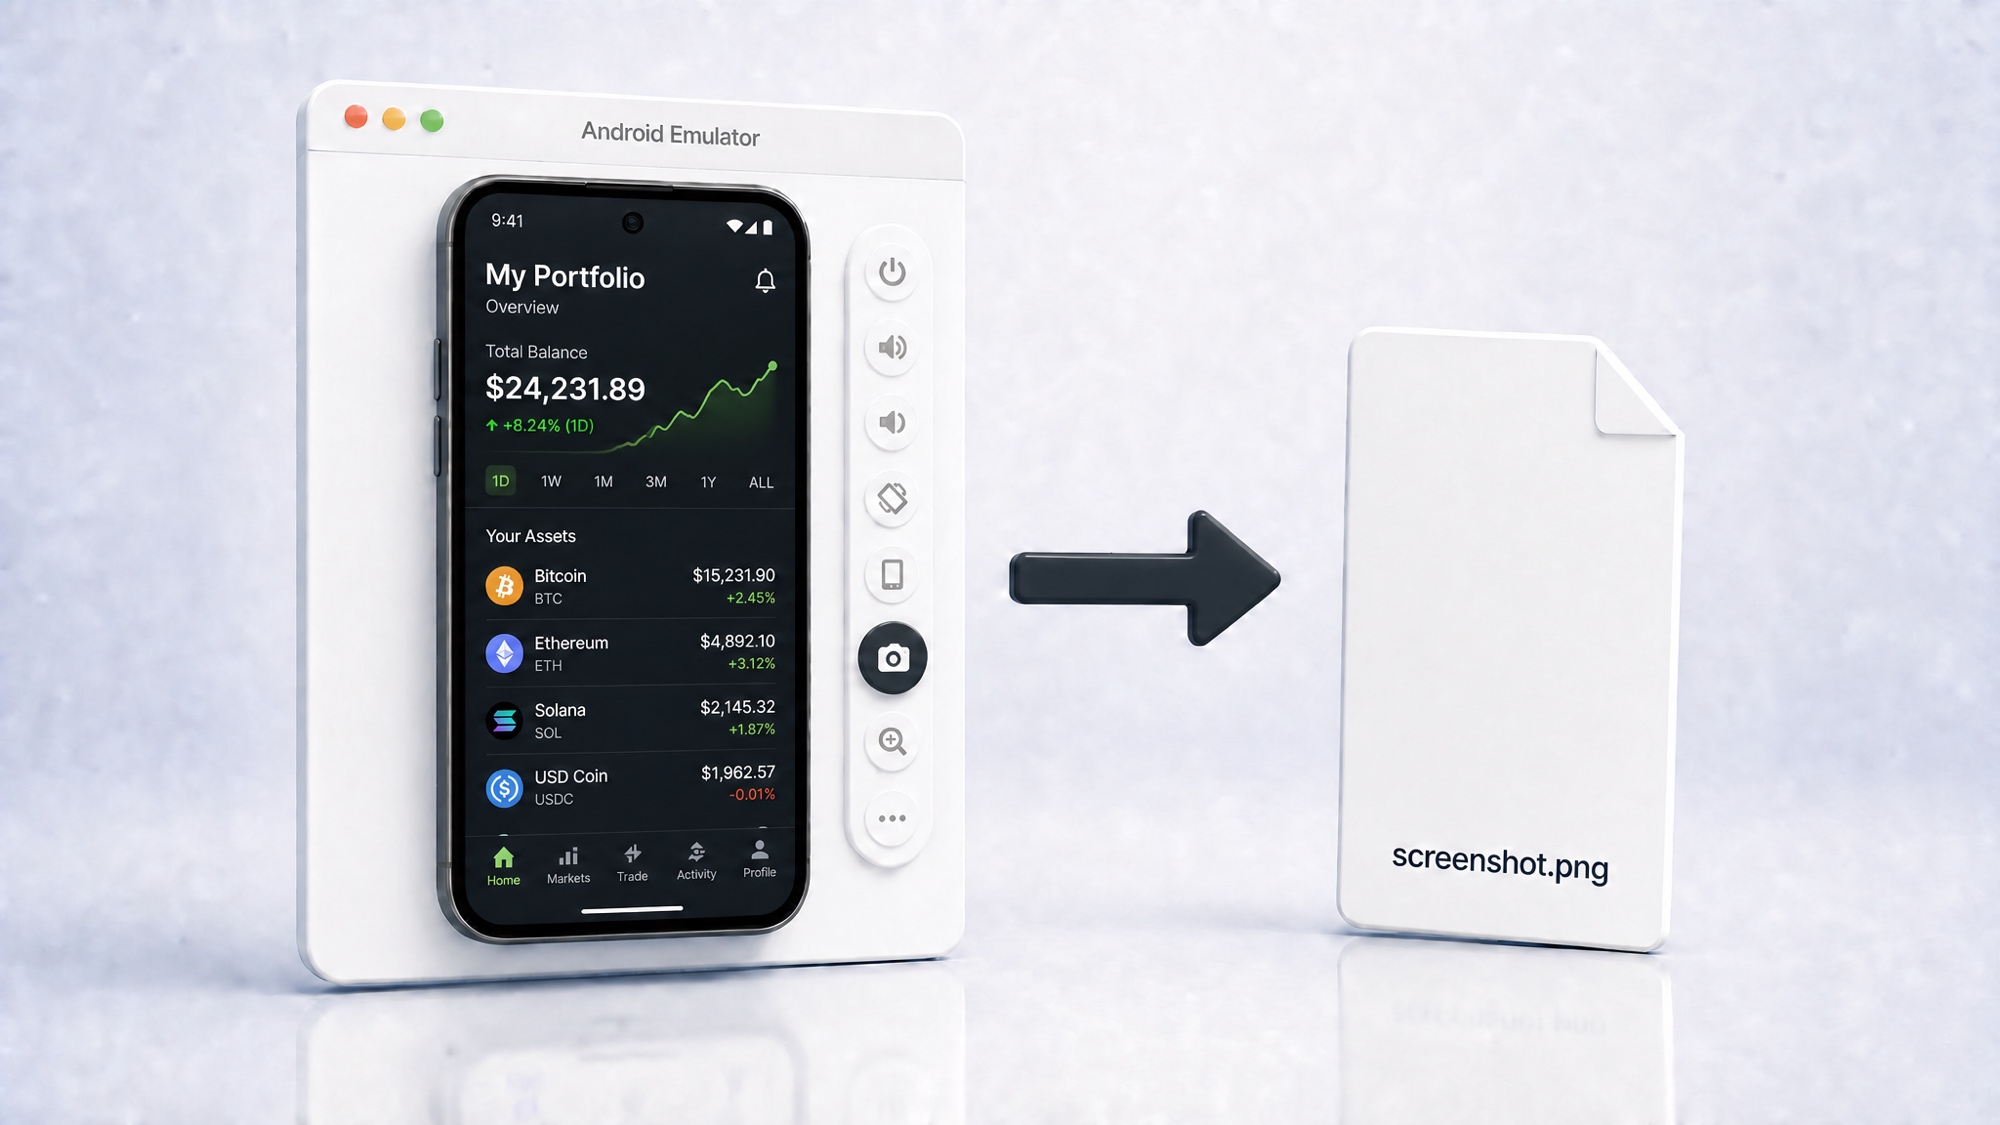
Capture a screenshot
- 1
Boot a virtual device. Create or start an Android Virtual Device in the Android Studio Device Manager. Each AVD records at its configured resolution, listed in the table below.
- 2
Use the toolbar camera button. Click Take screenshot in the emulator side toolbar. The PNG saves to the folder set under Extended controls > Settings.
- 3
Or capture from the terminal. This pipes a native-resolution PNG straight to your working directory.
adb exec-out screencap -p > screenshot.png
Resolution per phone emulator
Pixel 8, 9, and 10 all land at 19.5:9 to 20:9. So any of them drops into the 20:9 Android mockup, which resamples whatever resolution you capture. 1080 x 2400 is the clean size to design and export around.
| Emulator device | Screenshot output | Aspect ratio |
|---|---|---|
| Pixel 10 Pro XL, Pixel 9 Pro XL, Pixel 8 Pro | 1344 x 2992 | 20:9 |
| Pixel 10 Pro, Pixel 9 Pro | 1280 x 2856 | 20:9 |
| Pixel 10, Pixel 9 | 1080 x 2424 | 20.2:9 |
| Pixel 8, Pixel 7 | 1080 x 2400 | 20:9 |
#Frequently asked questions
How do I add my screenshot to a device mockup?
Add an iPhone or Android mockup to a frame, then drag your screenshot file from your computer onto the device on the stage. The screen highlights and your screenshot maps onto it in perspective. Drop it onto an empty part of the frame instead and it lands as a standalone image you can position yourself.
What resolution should my screenshot be to fit the device?
Use a screenshot captured straight from the iOS Simulator or Android emulator. It comes out at the phone native resolution, which is the right shape, the sharpest source, and exactly what the studio accepts when you drop onto a device. Valid iPhone sizes are 1320 x 2868, 1290 x 2796, 1284 x 2778, 1206 x 2622, and 1179 x 2556. Valid Android sizes are 1344 x 2992, 1280 x 2856, 1080 x 2424, and 1080 x 2400. An image that is not one of these is declined, so capture from the simulator instead of cropping by hand.
Can I swap the device after I drop my screenshot?
Yes. Switch between iPhone and Android frames or pick a different model and the screenshot refits to the new screen automatically, so you can preview the same shot across phones without importing it again.
What resolution does an iOS Simulator screenshot save at?
The native pixel resolution of the simulated iPhone. An iPhone 16 Pro Max simulator saves a 1320 x 2868 PNG, which is already a valid 6.9-inch App Store size, and an iPhone 15 saves 1179 x 2556. The terminal command xcrun simctl io booted screenshot always captures that native resolution, even if the simulator window is zoomed out on screen.
What size are Android emulator screenshots?
Whatever resolution the phone AVD is configured at. A Pixel 8 emulator outputs 1080 x 2400, a Pixel 10 Pro outputs 1280 x 2856, and a Pixel 10 Pro XL outputs 1344 x 2992. Each of these native emulator sizes drops into the Android mockup and uploads to Google Play fine, since Google Play has no single required size.
Do I need a device frame for store screenshots?
No. Both stores accept a raw simulator or emulator screenshot. A device frame, a background, and a caption are what lift conversion, and that is what the import-and-place workflow adds: drop your screenshot onto an iPhone or Android mockup and export at the exact store size.
#Official sources
The official references this guide is based on. Check them for the latest requirements before a submission.

Start designing
Get 5 free credits to generate app store screenshots. Upload your app shots and turn them into polished, store-ready designs in minutes.
Add at least one screenshot of your mobile app (1 credit each)